📓4.1: JavaScript Programming
Table of Contents
✴✴✴ NEW UNIT/SECTION! ✴✴✴
Create a blank website program to take your class notes in for the next few lessons.
Click on the collapsed heading below for GitHub instructions ⤵
📓 NOTES PROGRAM SETUP INSTRUCTIONS
- Go to the public template repository for our class: BWL-CS HTML/CSS/JS Template
- Click the button above the list of files then select
Create a new repository - Specify the repository name:
CS1-Unit4-Notes - For the description, write:
JavaScript programming, data types, variables, functions - Click
Now you have your own personal copy of this starter code that you can always access under the
Your repositoriessection of GitHub! 📂 - Now on your repository, click and select the
Codespacestab - Click
Create Codespace on mainand wait for the environment to load, then you’re ready to code! - 📝 Take notes in this Codespace during class, writing code & comments along with the instructor.
🛑 When class ends, don’t forget to SAVE YOUR WORK! Codespaces are TEMPORARY editing environments, so you need to COMMIT changes properly in order to update the main repository for your program.
There are multiple steps to saving in GitHub Codespaces:
- Navigate to the
Source Controlmenu on the LEFT sidebar - Click the button on the LEFT menu
- Type a brief commit message at the top of the file that opens, for example:
updated index.html - Click the small
✔️checkmark in the TOP RIGHT corner - Click the button on the LEFT menu
- Finally you can close your Codespace!
The JavaScript (JS) Programming Language
JavaScript was initially created to “make web pages alive”! 🪄
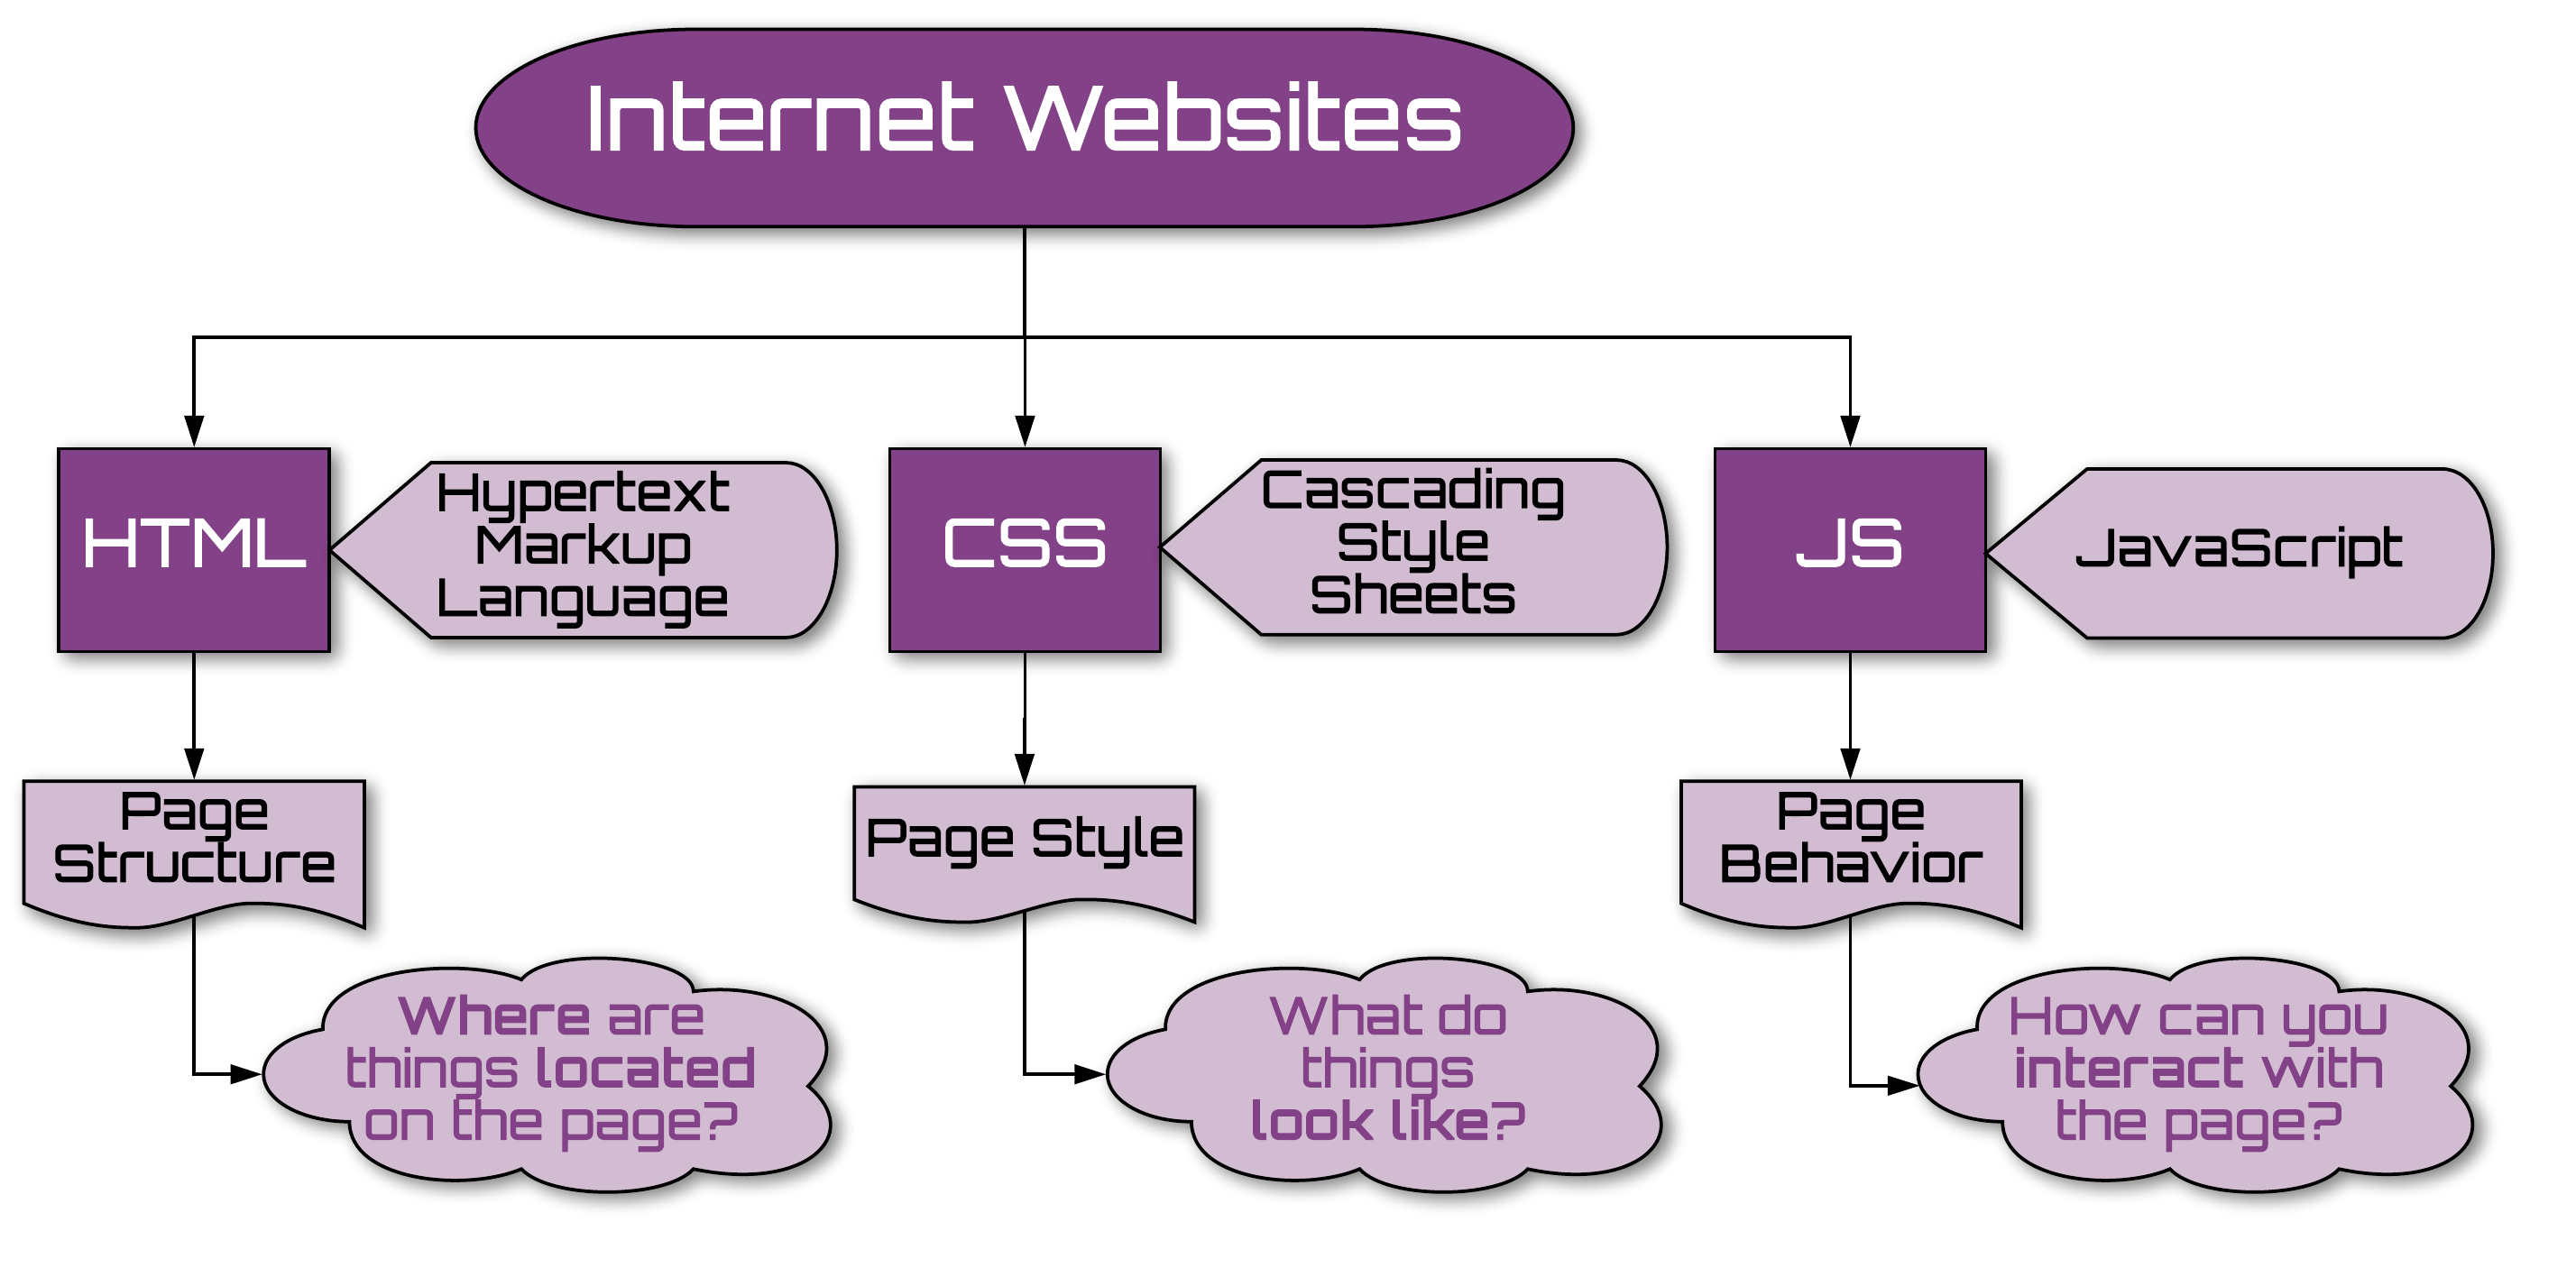
📝 The programs coded in this language are called scripts. They can be written right in a web page’s HTML and are run automatically as the page loads.
NOTE: In this aspect, JavaScript is very different from another language called Java. When JavaScript was created, it initially had another name: “LiveScript”. Java was very popular at that time, so it was decided that positioning a new language as a “younger brother” of Java would help.
Today, JavaScript can execute not only in the browser, but also on the server, or actually on any device that has a special program called the JavaScript engine. The browser has an embedded engine sometimes called a “JavaScript virtual machine”.
What can in-browser JavaScript do?
🌐 In-browser JavaScript can do everything related to webpage manipulation as well as interaction with the user and the webserver.
For instance, in-browser JavaScript is able to:
- ⭐️ Add new HTML to the page, change the existing content, modify CSS styles.
- ⭐️ React to user actions, like mouse clicks, pointer movements, key presses.
- ⭐️ Ask questions to the visitor, display messages and alerts.
- Remember the data on the client-side (“local storage”).
- Send requests over the network to remote servers, download and upload files (so-called AJAX and COMET technologies).
The script tag
JavaScript programs can be inserted almost anywhere into an HTML document using the <script> tag:
<body>

  <p>Before the script...</p>

  <script>
    console.log('Hello, world!');
  </script>

  <p>...After the script.</p>

</body>
The <script> tag contains JavaScript code which is automatically executed when the browser processes the tag. If we have a lot of JavaScript code, we can put it into a separate file, like the script.js file already in your project repository.
Script files are attached to HTML with the src attribute:
<script src="/path/to/script.js"></script>
Here,
/path/to/script.jsis an absolute path to the script from the site root. One can also provide a relative path from the current page. For instance,src="script.js", just likesrc="./script.js", would mean a file"script.js"in the current folder.
We can give a full URL as well. For instance:
<script src="https://cdnjs.cloudflare.com/ajax/libs/lodash.js/4.17.11/lodash.js"></script>
To attach several scripts, use multiple tags:
<script src="/js/script1.js"></script>
<script src="/js/script2.js"></script>
…
As a rule, only the simplest scripts are written directly into HTML. More complex ones reside in separate files, like the script.js already in your repository. The benefit of a separate file is that the browser will download it and store it in its cache.
Other pages that reference the same script will take it from the cache instead of downloading it, so the file is actually downloaded only once. That reduces traffic and makes pages load faster!
JS Code Structure
The first thing we’ll study is the building blocks of JavaScript code.
- Syntax
- The "grammar" rules of a programming language, which include meaningful symbols, keywords, and patterns.
- Statements
- Statements are syntax constructs and commands that perform actions.
We’ve already seen a statement, console.log('Hello world!');, which shows the message “Hello, world!” in the OUTPUT frame.
We can include as many statements (commands/instructions) in our code as we want! Statements are separated with a semicolon ( ; ), which acts like a stop sign 🛑 after an instruction.
Comments
As time goes on, programs become more and more complex. It becomes necessary to add comments which describe what the code does and why.
Comments can be put into any place of a script. They don’t affect its execution because the engine simply ignores them.
Single-line comments start with two forward slash characters //.
The rest of the line is considered a comment. It may occupy a full line of its own, or follow a statement.
Like here:
// This comment occupies a line of its own
console.log('Hello');

console.log('World'); // This comment follows the statement
Multiline comments start with a forward slash and an asterisk /*, and end with an asterisk then a forward slash */.
Like this:
/* An example with two messages.
This is a multiline comment.
*/
console.log('Hello');
console.log('World');
The content of comments is ignored, so if we put code inside /* ... */, it won’t execute.
Sometimes it can be handy to temporarily disable a part of code:
/* Commenting out the code
console.log('Hello');
*/
console.log('World');
Acknowledgement
Content on this page is adapted from the MDN Web Docs, The Modern JavaScript Tutorial, and CodeAnalogies Blog.